
Experts in manual and automated testing of mobile software products claim that the advantages of taking logs directly by means of the developer tools are the ease of use and no need to run third-party applications on the device.
This facilitates mobile application testing.
Taking Logs From Devices Using Android Operating System Can Be Divided Into Parts:
- installation of the software on the PC;
- activation of USB debugging on the device;
- taking logs;
- filters.
Installation of the Software on the PC
Every software testing company would recommend first of all installing Java development environment. To do this, one should go to Oracle website of and install JDK for the operating system.
Then download Android SDK from the developer's site.
It is necessary to unpack content of the downloaded archive in any suitable location. Specialists in functional testing advise to use an address without spaces (for example, C:\adt\).
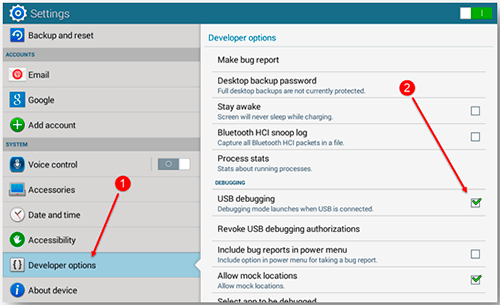
Activation of USB debugging on the device:
1. Go to settings of the phone or tablet.
2. At the end of the list choose "About device".
3. Tap on the build number till the development mode activates.

4. Go to the section "Developer options" that have appeared.
5. Mark the checkbox "USB debugging":
Taking Logs
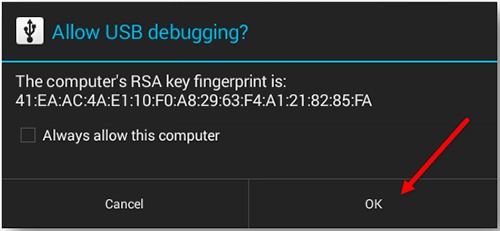
1. Connect the phone or tablet to the PC.
2. Confirm in the dialog box on the device that we trust the PC:
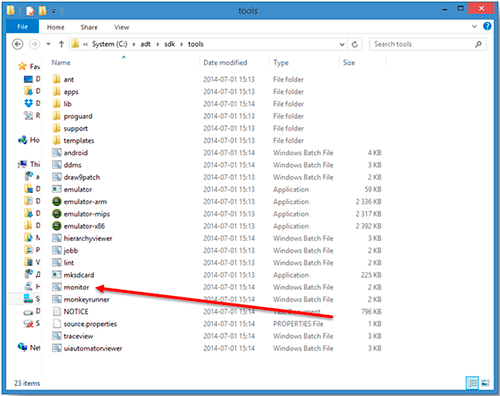
3. Run the file "monitor.bat", which is located in the folder with the tools. In this case, the address is: c:\adt\sdk\tools\monitor.bat.
4. If the operating system wants to "protect" you from running the file, select “More info >> Run anyway”:
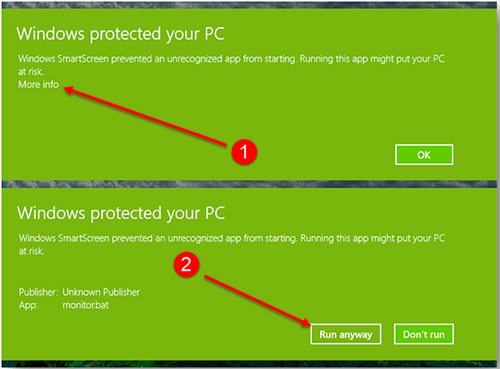
5. Mobile testing shows that the first run may take up to 15-20 seconds.
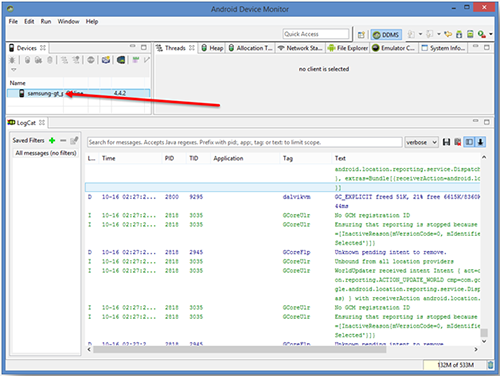
6. In the next window it is necessary need to select the device from which the logging will be performed:
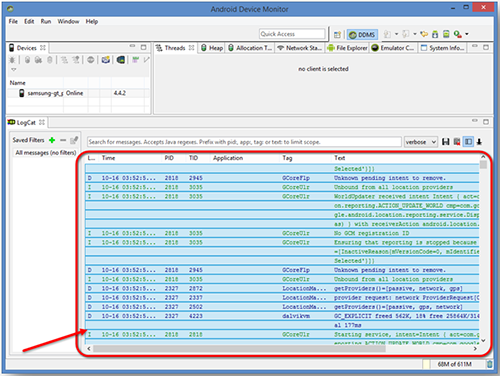
7. After completing the steps that must be logged, one should select the desired area by means of the mouse and pressing SHIFT, or select all pressing combination of keys CTRL + A:
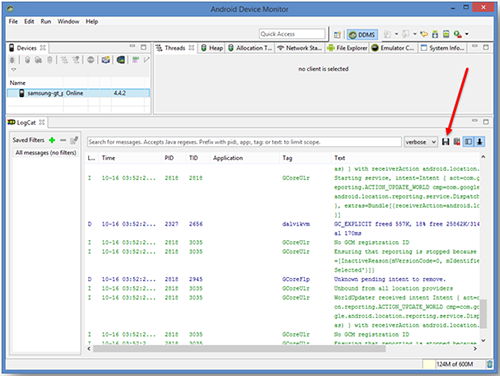
8. Save the log in the file:
Filters
In LogCat there is also functionality of creating filters in order to log only certain processes or messages with specific tags. To create a filter it is necessary to click on the symbol "+" in the section Saved Filters, and then specify the name of the filter and at least one parameter for filtering:
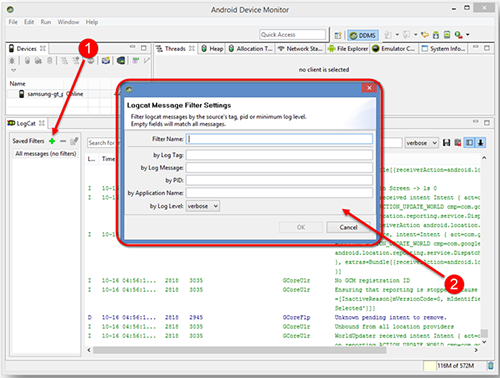
For example, indicate that the filter name is “dalvik” and specify the tag in the field “by Log Tag”, for example, “dalvikvm”:
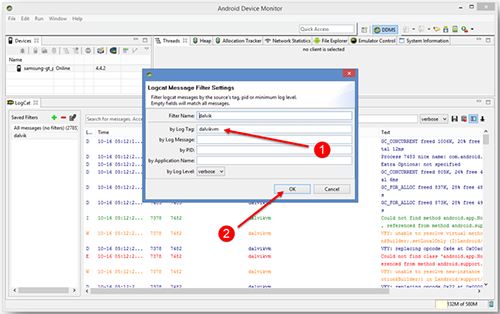
Click OK, and the output will only display messages related to the virtual machine Dalvik.
One may set filters on other parameters by analogy.